
 As spring approaches, the weather begins to turn, and as the days seem to get longer, many homeowners look to spend more time outside. With this shift comes a demand for exterior renovations like mulching the garden beds, updating exterior paint, or even cleaning and sealing exterior concrete.
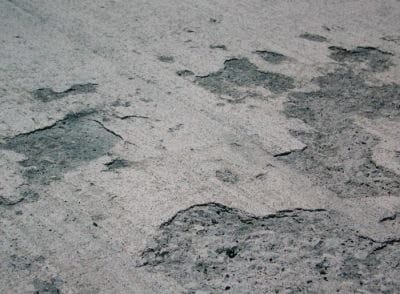
If you live anywhere where it snows you’re probably aware of the damage salt can have on your cars. The salt rapidly promotes rust on metal of the undercarriage. Salt can also aid in concrete scaling by lowering the freeze point of water which attracts moisture thus increasing pressure through freeze thaw cycles that happen when temperatures fluctuate below freezing.
The good news is you can prevent, protect, and even spruce up any existing concrete to avoid that headache down the road. In this article I’ll overview preparation of any existing surface, staining the surface, as well as sealing the concrete (note: you can skip staining and just seal if you desire a more natural look).
 STEP (1) : Surface Preparation
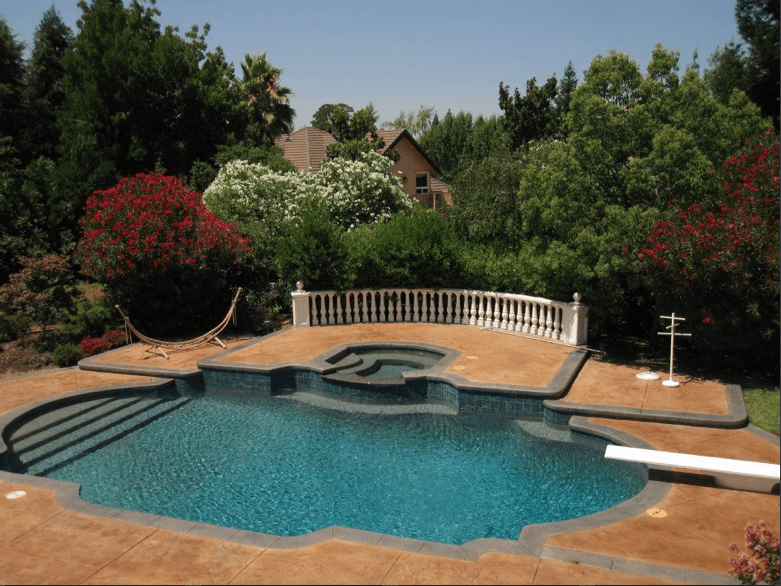
It’s in our name, Runyon Surface Prep, Preparation is the single most important step in any trade. In exterior concrete, preparation can be achieved a few different ways and we are looking to achieve a few different things. To understand what we’re doing we first need to understand why, Preparation helps clean the surface of any dirt, oil, and contaminates that would otherwise inhibit proper adhesion and absorption of upcoming products. Concrete can be mechanically prepared using a grinder/shot blaster. This method is also effective when there is a coating to be removed, imperfections that need blended, or high/low spots. (see video of pool deck being prepared using a Edco single disc diamond grinder).
The final method involves the use of a pressure washer and cleaning agents. In the past Muratic Acids were used to “etch” or open the pores of concrete. Muratic Acid is a very harsh chemical, with an unbearable smell, which you definitely don’t want to runoff into your yard. The good news is advancements in the industry have led to strong, environmentally friendly alternatives which work by reacting within the concrete. The combination of pressure washing, etching, and a final pass of pressure washing is a great option to prep your concrete for stain/sealing.
Products to be used during this step:
- Edco Diamond Grinder
- Ameripolish EZ etch
- Prosoco SafEtch
- Slurry Solutions AR (acid replacement)
(STEP 2) : Staining
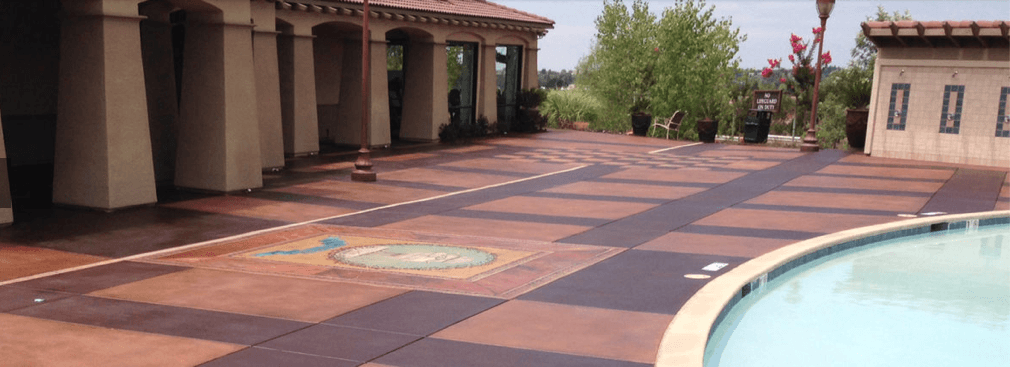
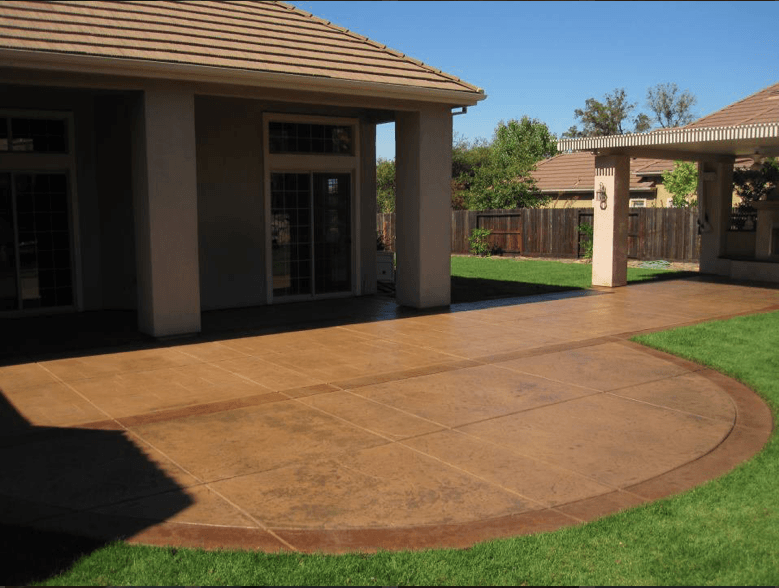
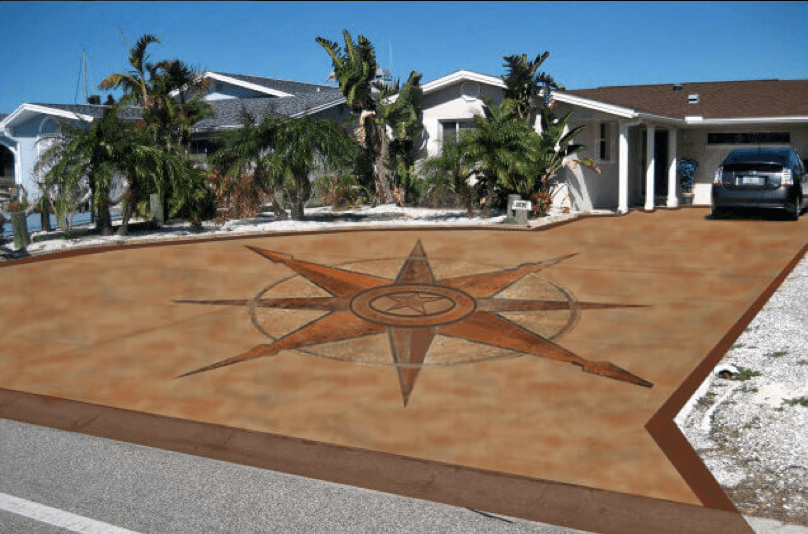
Once you’ve finished prep and vacuumed (mechanically prepared) or allowed to dry (pressure washed) you can being staining. Staining concrete can be a daunting task and every stain takes different to different concrete. With this in mind, it’s important to test a small area before beginning. It’s also important to choose a stain that is UV stable and won’t fade or amber with sun exposure. Endurable concrete stain and Ameripolish ColorJuice 3D are both great options for exterior color. The sprayer used needs to be equipped with the proper nozzle tip for a consistent color pattern (fan or cone tip) and should be sprayed lightly in a circular motion to allow for even coverage. Multiple colors can be used if desired just keep in mind that lighter colors typically go down first and are allowed to dry completely before accent color is added.
Products Used during this step:
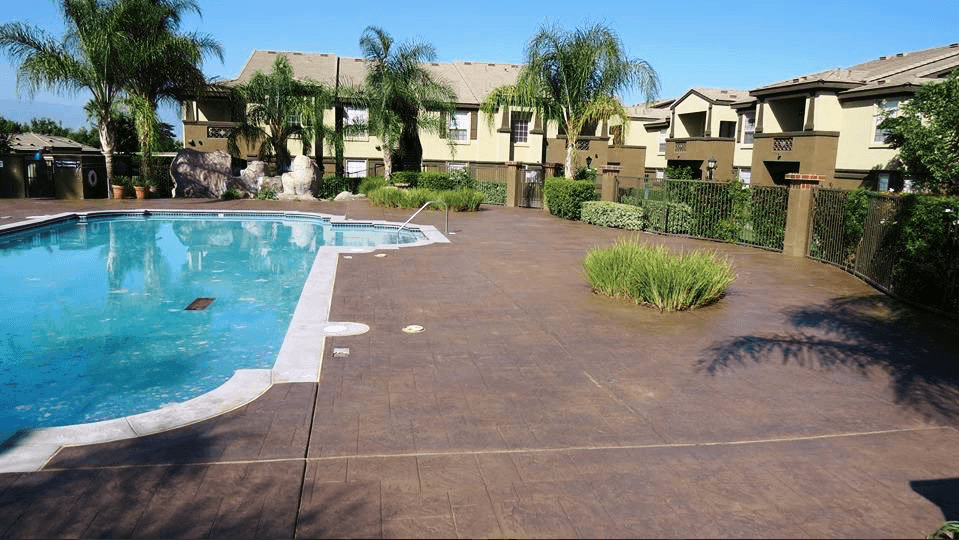
STEP 3: Seal The Concrete
Once you’ve stained the concrete and allowed it to dry, the next step is sealing it. Sealing the concrete will help protect it as well as resist moisture, salt, and dirt. Sealer’s are applied using a sprayer in the same fashion as the stain and typically call for multiple coats. They are also available in wet look or matte finishes.
Products used during this step:
https://www.youtube.com/watch?v=H1vhF7MjBpc
- Ameripolish X-Link WB sealer (matte or wet look)
We stock everything needed to complete your exterior surface preparation, staining, and sealing. Call us today!